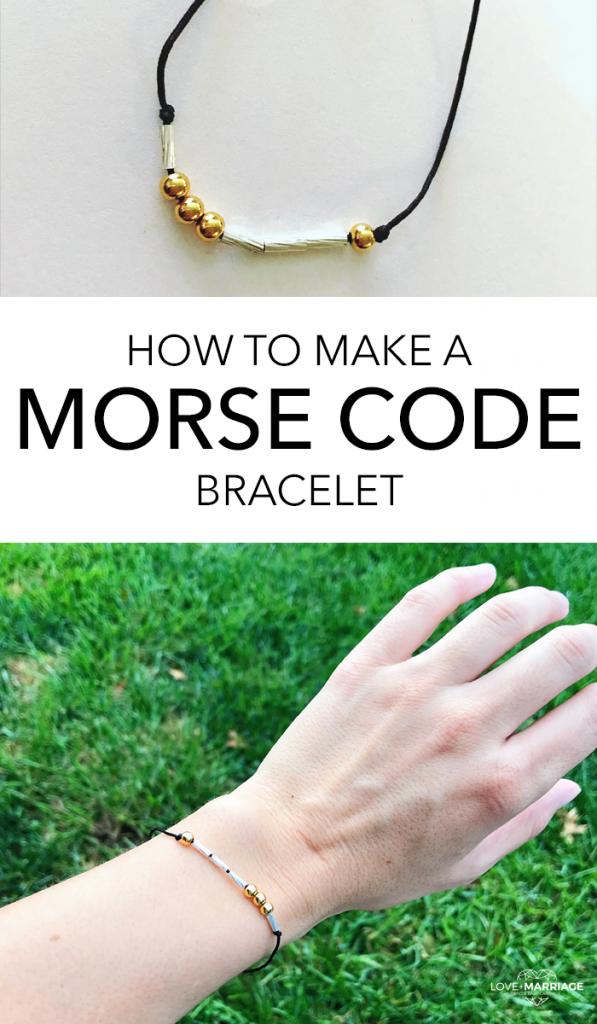
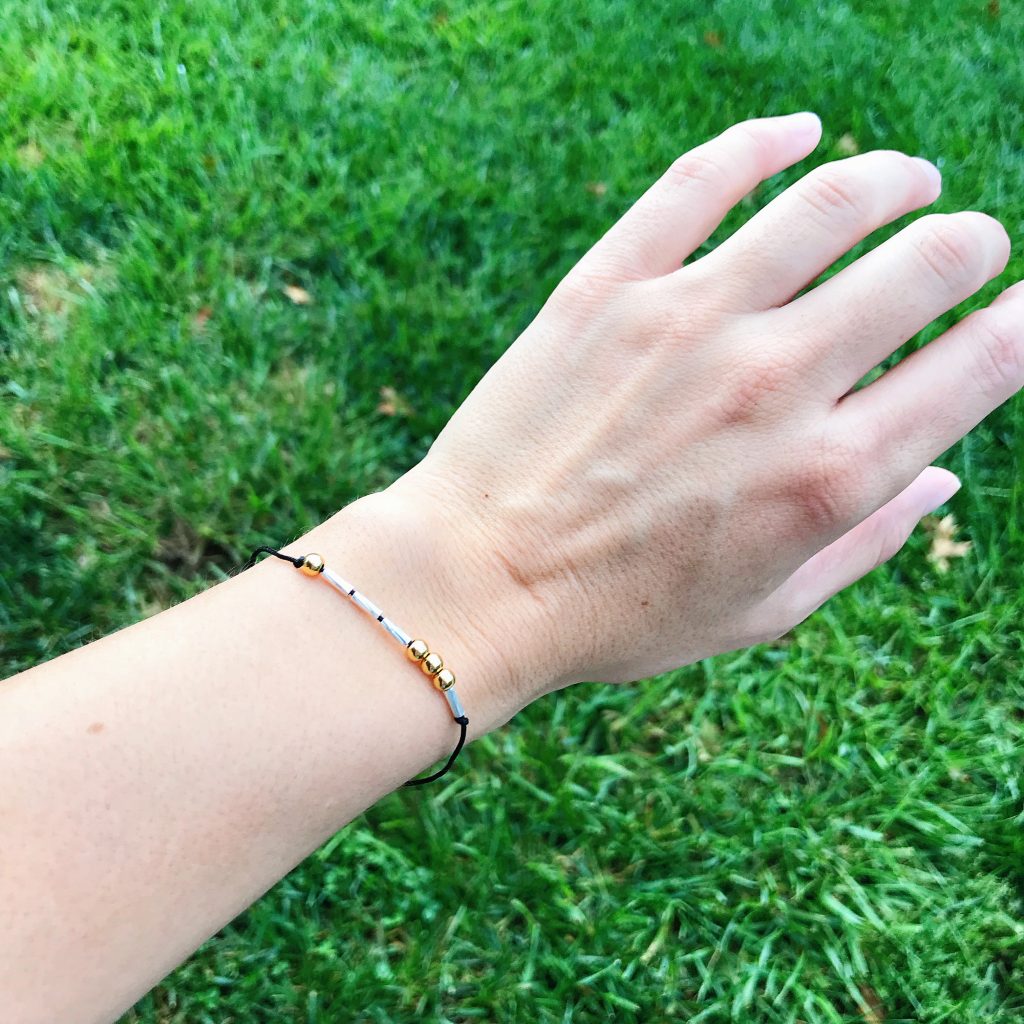
This morse code bracelet is an adorably easy gift idea!
I saw some gorgeous morse code necklaces on Etsy recently and fell in love with the idea. I made a bracelet with my son’s initials on it and you can spell out any word you’d like. Below I have some fun suggestions.

How To Make a DIY Morse Code Bracelet
The fun thing about this, is that it’s totally customizable. You can use any style or color of beads and cord.
And better yet? You don’t have to worry about perfection because no one will know if it’s right or not. Ha!
What You’ll Need:
- Cord (I used nylon cord but silk cord may work a little better)
- Round beads (the ones used here are 4mm)
- Long beads (I don’t know the technical term. These here are 6mm)
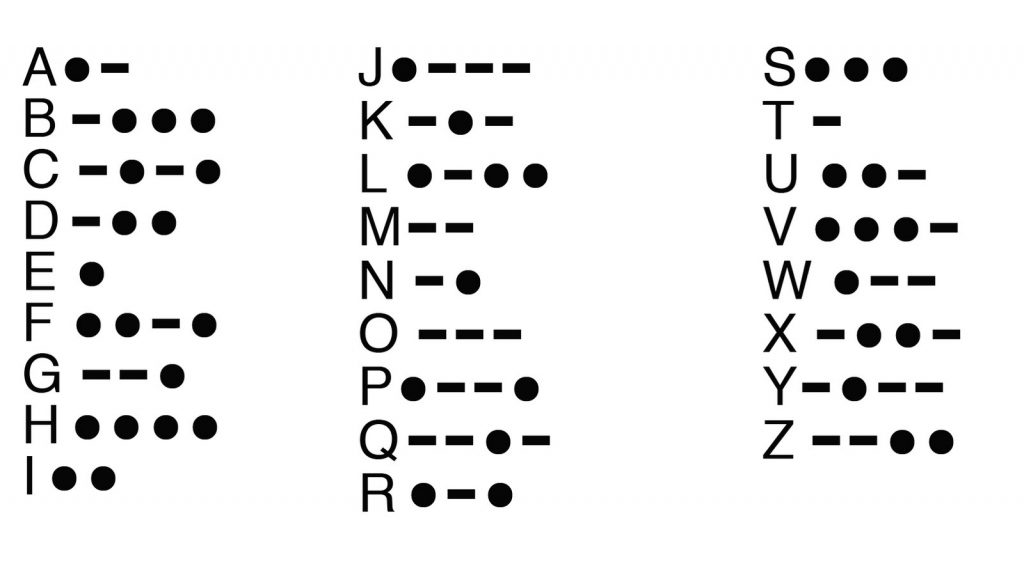
First, plan out your morse code using this chart:

Next, cut some cord. My number one tip for this project is cut a very long piece, much longer than what you think you need. Cord is inexpensive and you don’t need to worry about saving it, but once you’ve gone too short you can’t go back.
Tie a knot in the middle and start to string your beads, working backward.
When you’re done, tie another knot.
You can close the bracelet by tying it and slipping it on over your wrist or using some kind of clip. My favorite for bracelets are a lobster clip or barrel clasps.
That’s it!

This DIY is so simple to make and is one of my most favorite homemade Christmas or birthday gift. If you’re looking for some inspiration besides names and initials, check these out.
Code Ideas
- Love
- Live
- Dream
- Luck
- Strength
- Sister
- Mother
- Niece
- Bestie
- BFF
Enjoy crafting your beautiful morse code bracelet!
Liz is a just a mom trying to keep it real about how little she sleeps, how often she gets puked on and how much she loves them. You can find her here every day writing about real-mom moments.


